By Shaheer Malik · · 5 min read
How to Make a GIF of Your App for a GitHub README
To make a GIF of your app for a GitHub README, record or screenshot the one moment that shows what it does, put it in a clean frame, and export a short loop around 720 pixels wide at about 15 frames per second. Keep it under GitHub's 10 MB limit for images and GIFs, add it to the README with Markdown image syntax and alt text, and use an MP4 instead when the clip is long.
A GitHub README has a few seconds to explain your project. A short animated GIF at the top does it faster than any paragraph: people see the app working before they decide whether to read on, star it or install it.
The trouble is that most README GIFs are either blurry, enormous, or a jittery screen recording with the cursor wandering around. This guide covers how to make one that's small, sharp and loops cleanly, and when you should use a video instead.
Disclosure: I make 240fps, which I use in the steps below. GitHub's limits come from its own documentation, read on 2 October 2026.
Why use a GIF in a README instead of a video?
Because a GIF plays everywhere, immediately, with no click. It renders like an image in your README, with no player and no click, and it works in most places Markdown is shown.
GIFs also have real costs. They store every frame with a limited colour palette, so files grow fast and gradients band. That's why the rule is short and simple: a GIF for a few seconds of motion, a video for anything longer.
What are GitHub's limits for GIFs and videos?
GitHub's documentation on attaching files sets these limits:
| File | Limit on GitHub |
|---|---|
| Images and GIFs | 10 MB |
| Videos, free plan repositories | 10 MB |
| Videos, paid plan repositories | 100 MB |
| Supported types | PNG, GIF, JPEG, SVG, MP4, MOV, WebM |
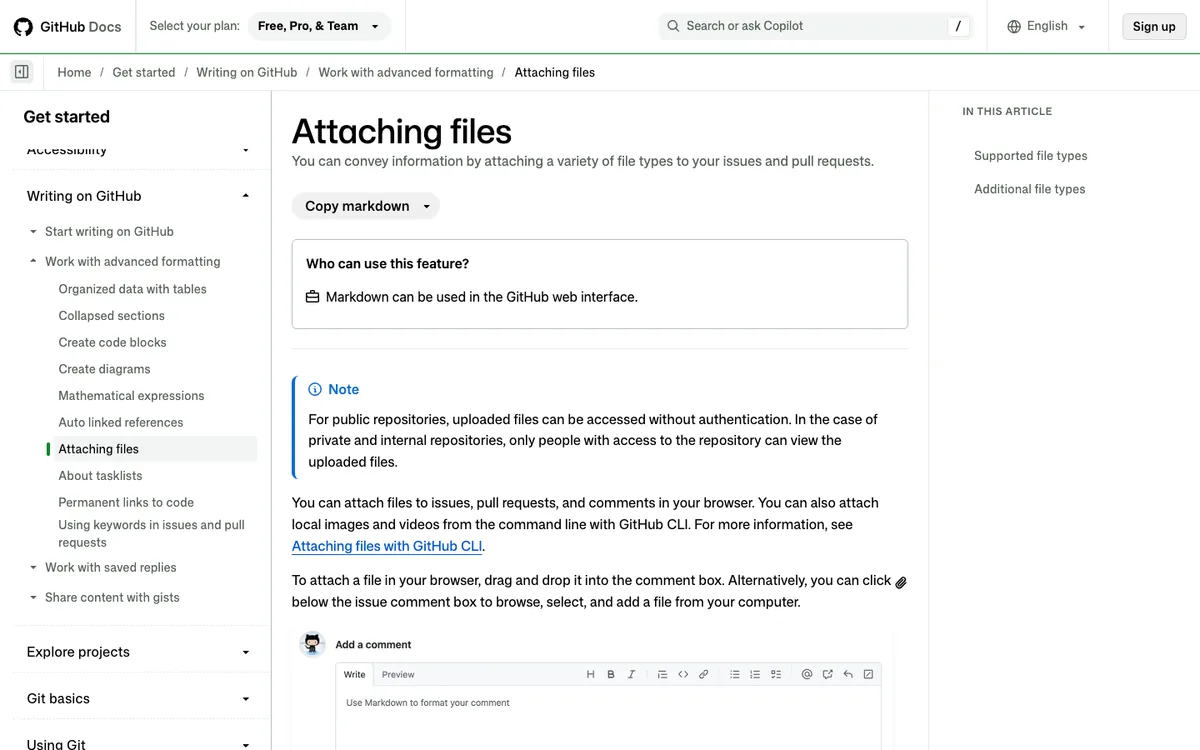
GitHub also notes that video codec support varies by browser and recommends H.264 for the widest compatibility.
What should the GIF show?
One moment that proves what the project does. Pick the single interaction a new visitor would find most convincing: a command producing its output, a component responding to a click, a dashboard updating. Show the input and the result, then stop.
Three rules keep it readable:
- Keep it short. Three to eight seconds. If you need longer, you need a video.
- Make the text legible. Record at the size you'll show it, or zoom into the part that matters.
- Hide the clutter. Close other windows, hide the bookmarks bar and the desktop, and use realistic sample data.
How do you make the GIF?
You need two things: the footage, and a clean frame around it. In 240fps:
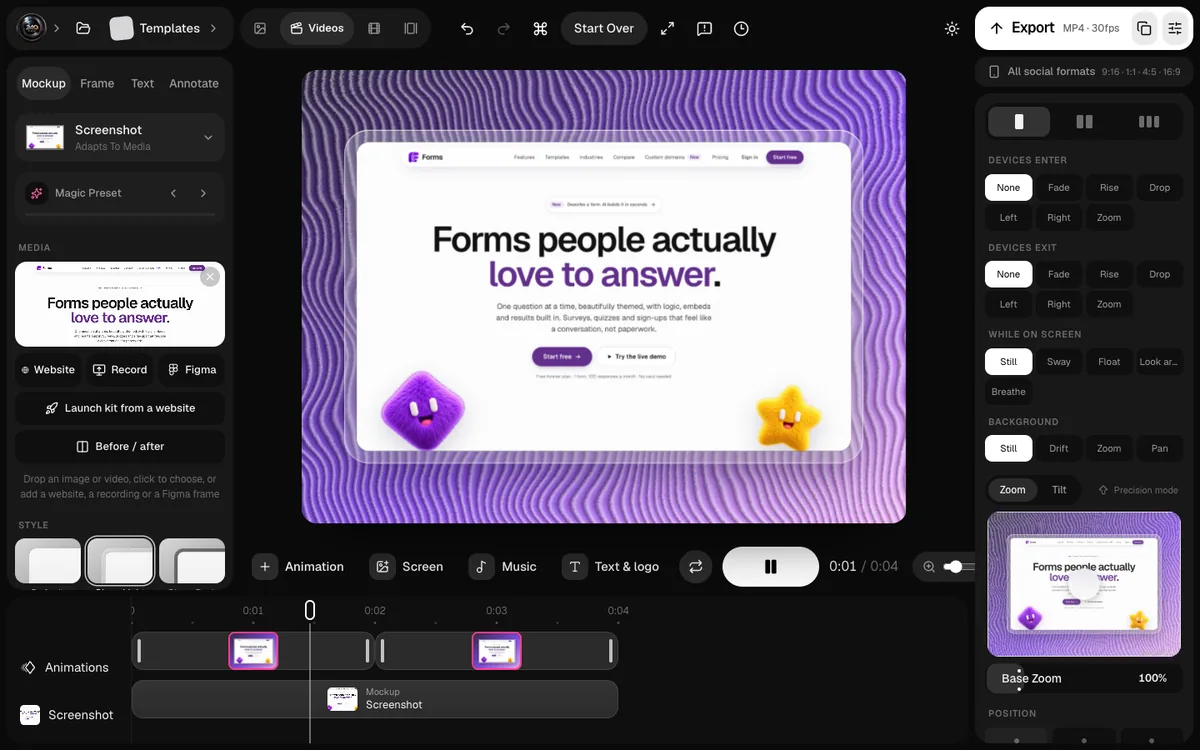
- Open a loop template. The seamless loop templates (Breathe, Sway, Tilt orbit and Float) end exactly where they start, so the GIF plays forever without a visible restart.
- Add your screen. Paste a screenshot, drop in a screen recording, or load a live website.
- Choose GIF in the export settings, and a width of 480, 720 or 960 pixels.
- Export. The GIF downloads when it's encoded, at 15 frames per second, with transparent backgrounds kept.
If your footage is a screen recording, record it with a tool that smooths the cursor and zooms in on clicks, so the GIF stays readable at README size. I covered that in how to make a product demo video on a Mac.
How do you keep a GIF under 10 MB?
Reduce what the GIF has to store. In order of impact:
- Shorten it. Every frame counts. Cutting from eight seconds to four roughly halves the file.
- Make it narrower. 720 pixels wide is usually sharp enough in a README; 960 is for detailed UI.
- Lower the frame rate. About 15 fps is smooth for interface motion; 30 fps doubles the frames for little gain.
- Simplify the background. Flat colours compress far better than gradients, photos or film grain.
- Avoid constant full-screen motion. A static frame with one moving area compresses much better than a camera move across the whole image.
How do you add the GIF to your README?
Commit the GIF to your repository, for example in a docs or .github folder, and reference it with Markdown image syntax, including alt text that says what the animation shows:
Put it near the top, right after the one-line description, so it's the first thing people see. Keep the alt text meaningful: screen-reader users and anyone whose image fails to load rely on it.
For a video, attach the MP4 to an issue or pull request comment on GitHub, which uploads it and inserts a link, then copy that link into your README.
Should the GIF show a device or a browser frame?
Use a frame when it adds context. A web app reads better in a browser frame, a mobile app in a phone, and a command-line tool on a plain dark background. 240fps has browser, phone, tablet and Mac frames, and loop templates that keep the frame still while the screen plays.
Keep the frame subtle. In a README, the content is the point; a heavy 3D angle makes small text harder to read.
What does it cost?
Designing in 240fps is free in your browser. Exports, including GIF, MP4 and WebM, come with 240fps Monthly at $7 a month or Lifetime at $39 once.
FAQs
What is the maximum GIF size on GitHub?
GitHub's documentation lists 10 MB for images and GIFs.
Can I put a video in a GitHub README?
GitHub supports MP4, MOV and WebM attachments, up to 10 MB on free plan repositories and 100 MB on paid plans. Attach the video in an issue or pull request comment, then use the link GitHub creates in your README.
What frame rate should a README GIF use?
About 15 frames per second is smooth enough for interface motion and keeps the file small.
How wide should a README GIF be?
About 720 pixels wide is usually sharp in a README. Use 960 for detailed interfaces and 480 for simple animations.
How do I make a GIF loop without a jump?
Use footage that ends where it starts, or a seamless loop template, such as 240fps's Breathe, Sway, Tilt orbit and Float, which end exactly where they begin.
Last updated: 2 October 2026. GitHub's limits are from its documentation on 2 October 2026.