By Shaheer Malik · · 6 min read
How to Make a Product Demo Video on a Mac, with Automatic Zooms
To make a product demo video on a Mac, plan a short script around one result, clean up your screen, and record once with a recorder that logs your clicks, such as 240fps for Mac. Its editor turns each click into a zoom, smooths the cursor and writes captions, then you add a background or device frame and export an MP4 up to 4K at 60 fps. Aim for about a minute.
A good product demo looks edited: the camera moves to what matters, the cursor glides instead of jittering, and the whole thing is over before anyone gets bored. The old way to get there was to record, then spend an hour keyframing zooms in a video editor.
On a Mac you can skip that hour. A recorder that logs your clicks can place the zooms for you, so the edit starts mostly done. This guide walks through the whole process, from the plan to the export, using 240fps for Mac.
Disclosure: I make 240fps, so the steps below use it. The planning and recording advice works with any recorder, and I've linked my sources.
How long should a product demo video be?
About a minute for a marketing demo; longer only for a tutorial. Wistia's data on marketing video length, published in July 2025, found that videos under a minute average a 52% engagement rate, and product videos under a minute around 50%.
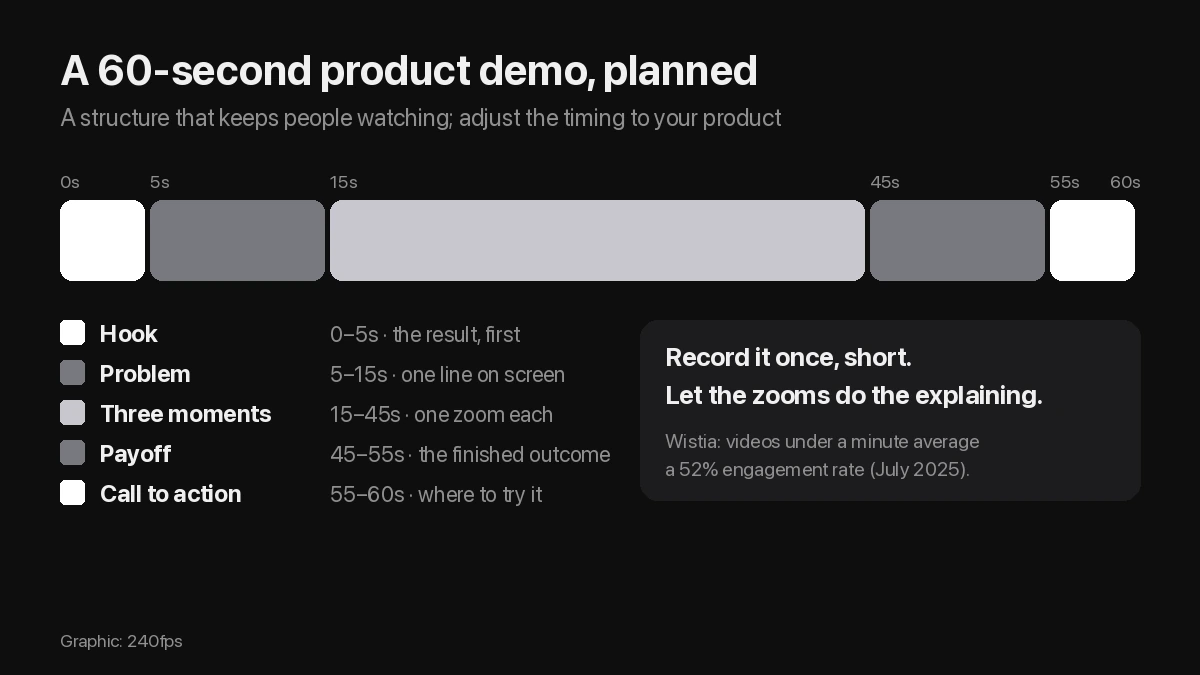
So plan for 60 seconds and cut anything that doesn't earn its place. A structure that works:
| Time | Part | What happens |
|---|---|---|
| 0–5 s | Hook | Show the result first, not a logo |
| 5–15 s | Problem | One line on screen about the pain |
| 15–45 s | Three moments | The three clicks that matter, one zoom each |
| 45–55 s | Payoff | The finished outcome |
| 55–60 s | Call to action | Where to try it |
How do you prepare your Mac for a screen recording?
Five minutes of preparation saves a re-record.
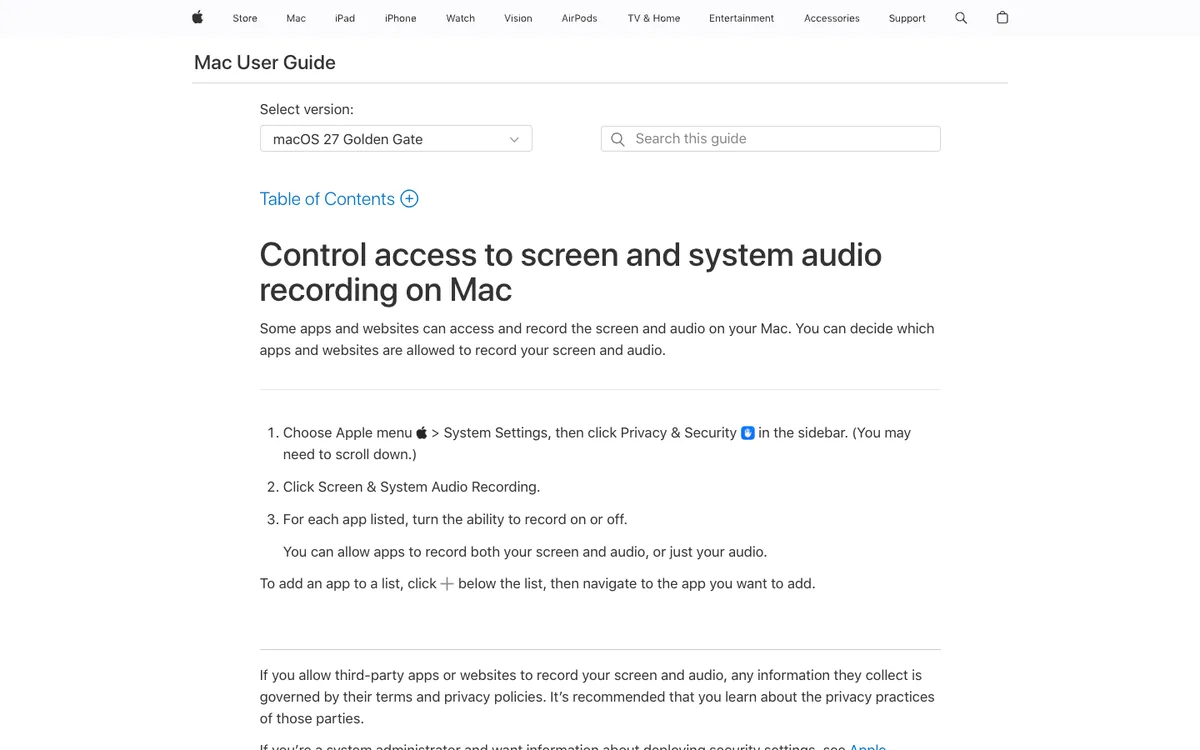
- Allow screen recording. macOS asks the first time. You can also turn it on in System Settings, Privacy & Security, Screen & System Audio Recording, as Apple's Mac User Guide explains.
- Turn on Do Not Disturb. A notification sliding in mid-demo is the most common reason to start over.
- Clear the screen. Close other windows and tabs, and hide desktop icons; 240fps can hide them for you while it records.
- Use real-looking data. An empty dashboard sells nothing. Fill the app with believable sample content.
- Set your window size. Record the window or area at the size you'll export, so text stays sharp.
How do you record the demo?
Record once, slowly, and click only what you want people to see. In 240fps for Mac:
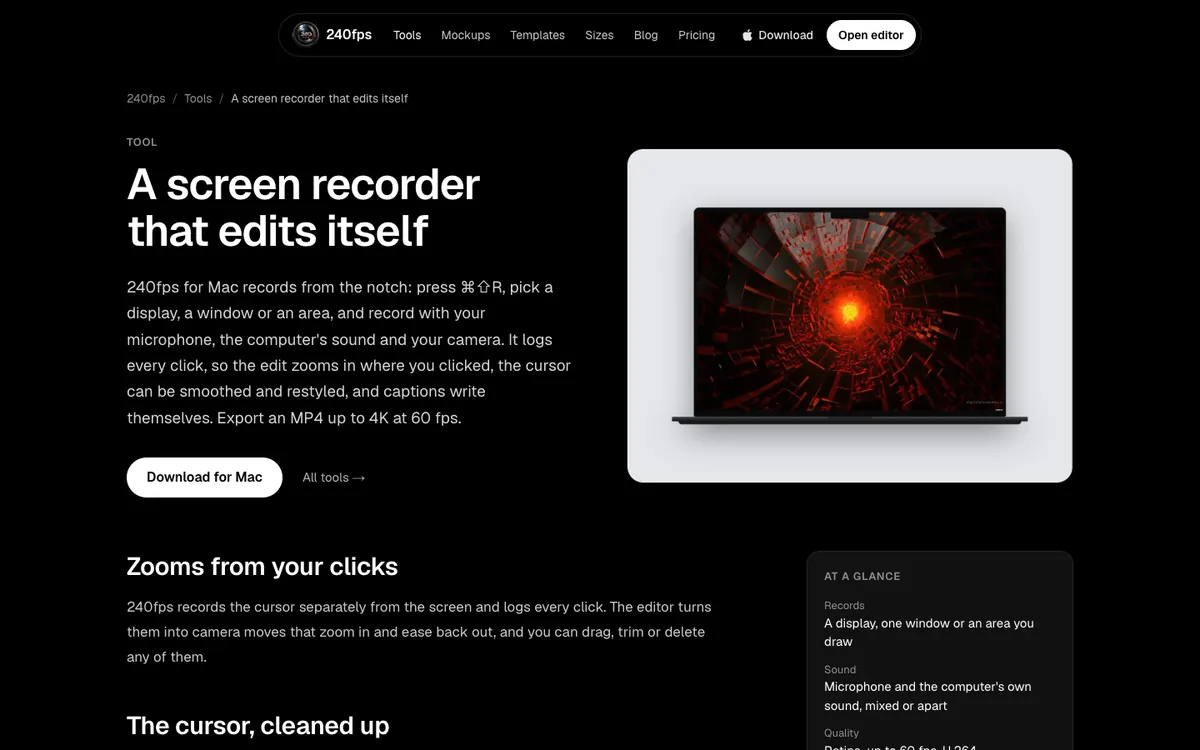
- Press ⌘⇧R. A panel slides out of the notch.
- Pick what to record: a display, a window or an area, plus your microphone, your Mac's sound and your camera if you want them.
- Record. Use the app as you'd like it shown, with your notes in the panel while you talk.
- Stop from the menu bar or with ⌘⇧2.
How do automatic zooms work?
240fps records the cursor separately from the screen and logs every click. When you open the recording, the editor has already placed a zoom at each click: the camera eases in, holds, and eases back out. You can drag, retime or delete any of them on the timeline.
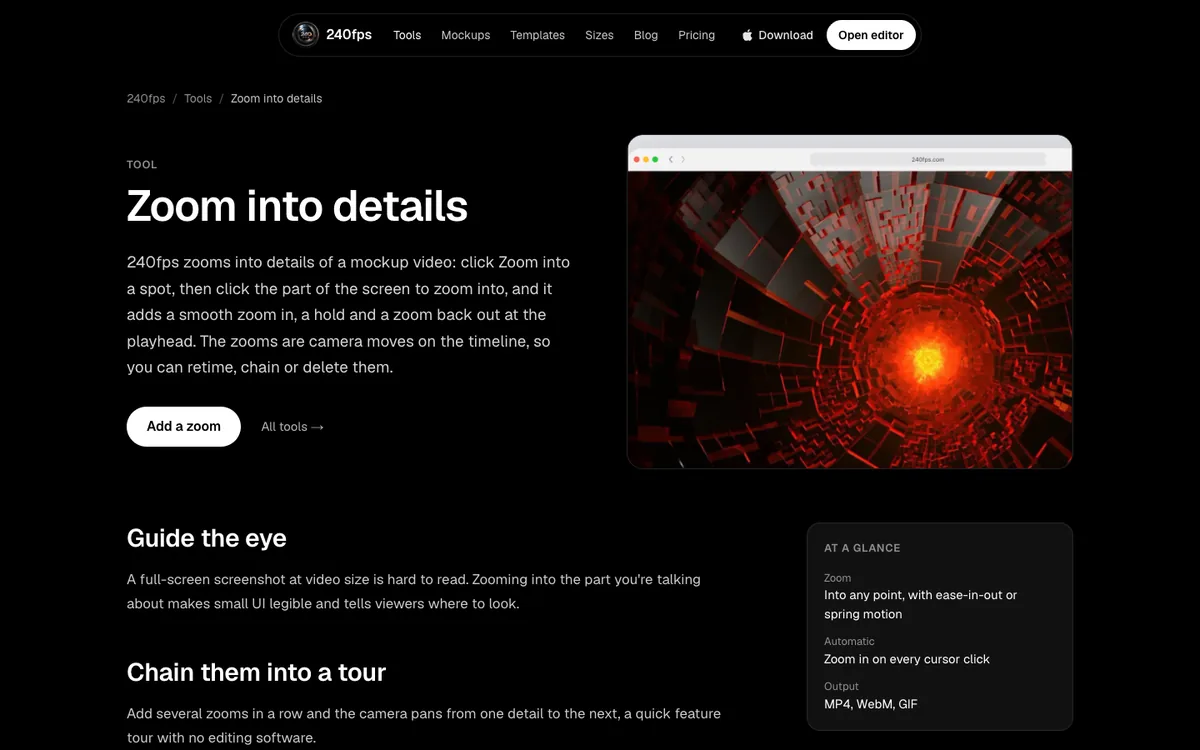
Keep zooms purposeful. Three to five in a one-minute demo is plenty; a zoom on every click makes viewers seasick.
How do you clean up the cursor?
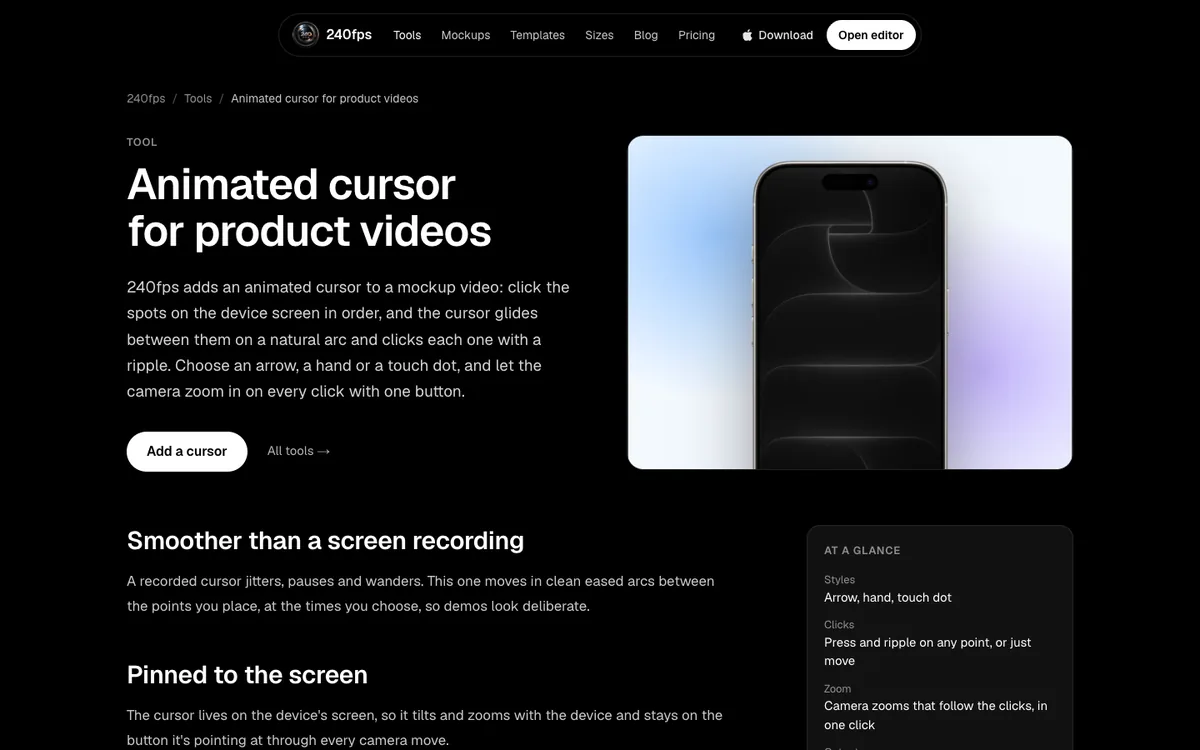
Because the cursor isn't burned into the video, you can change it after recording. Smooth its path so it glides instead of jittering, make it bigger so it's visible on a phone, add a click ring so viewers see each click, or hide it when it stops moving.
For a mockup video with no recording at all, you can also place an animated cursor by clicking points on the screen in order.
Should a demo video have captions?
Yes. Many people watch social video with the sound off, so captions carry your voice-over. 240fps transcribes captions on your Mac on macOS 26, so the audio never leaves your computer, and you can pick a caption style and export SRT or VTT files too.
Add one short headline on screen for the hook as well. It's the line people read before they decide to keep watching.
How do you make the recording look polished?
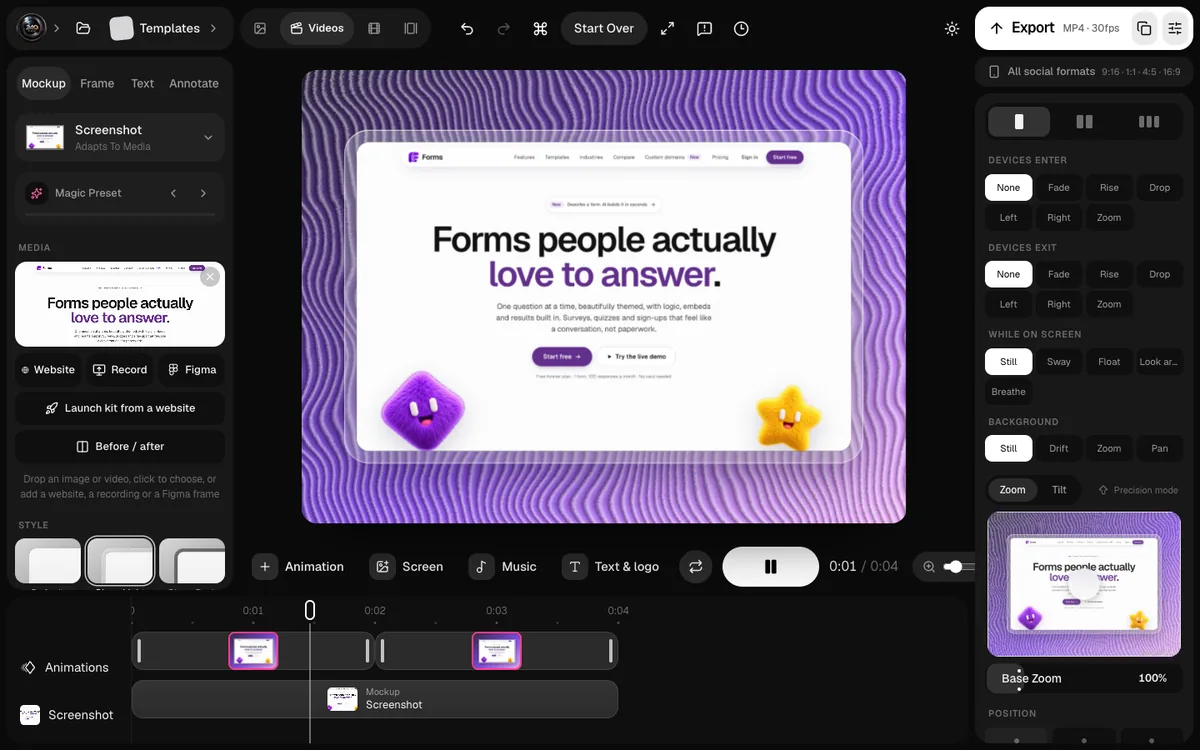
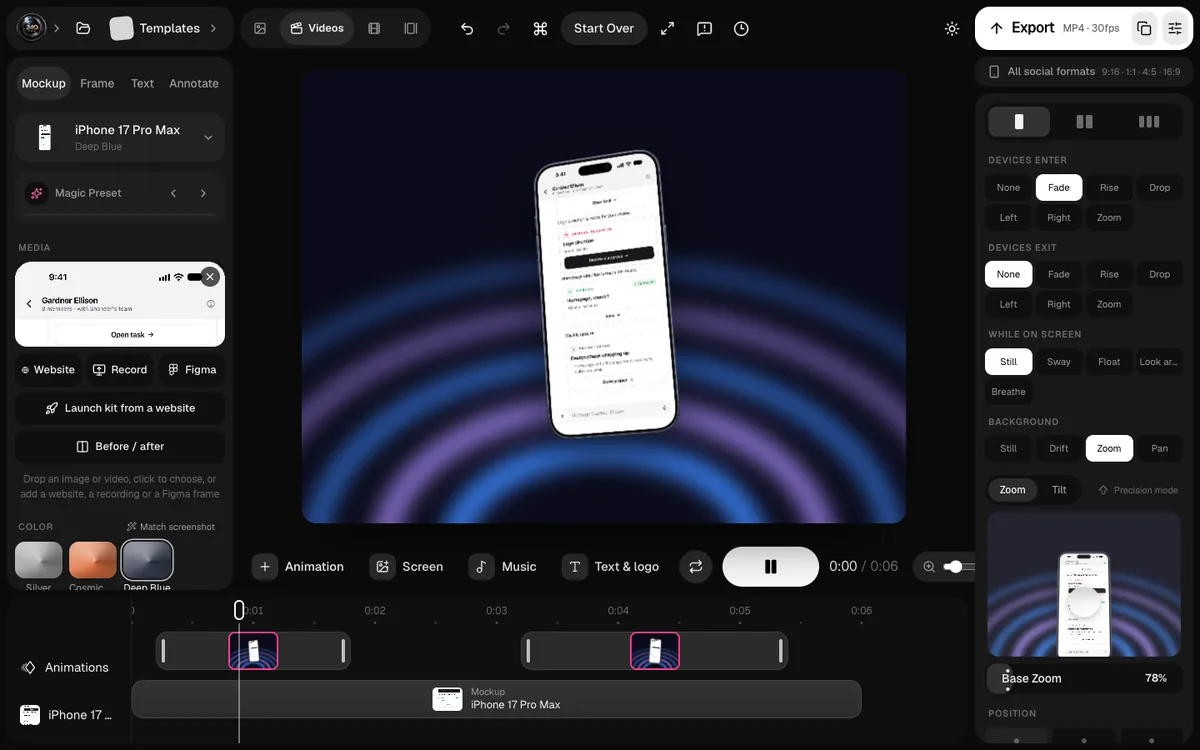
Frame it. In the 240fps editor you can add a background, padding, rounded corners and a shadow, add a title or a closing scene, or put the whole recording inside an iPhone, iPad or Mac mockup.
What export settings should you use?
Export an MP4 for almost everything: your site, social posts and email. 240fps exports up to 4K at 60 fps, and you can pick the shape for where it's going, such as 16:9 for YouTube and your website, or 9:16 for Reels and TikTok.
For an App Store preview instead, keep it between 15 and 30 seconds and follow Apple's rules; I covered those in App Store preview videos.
What does it cost?
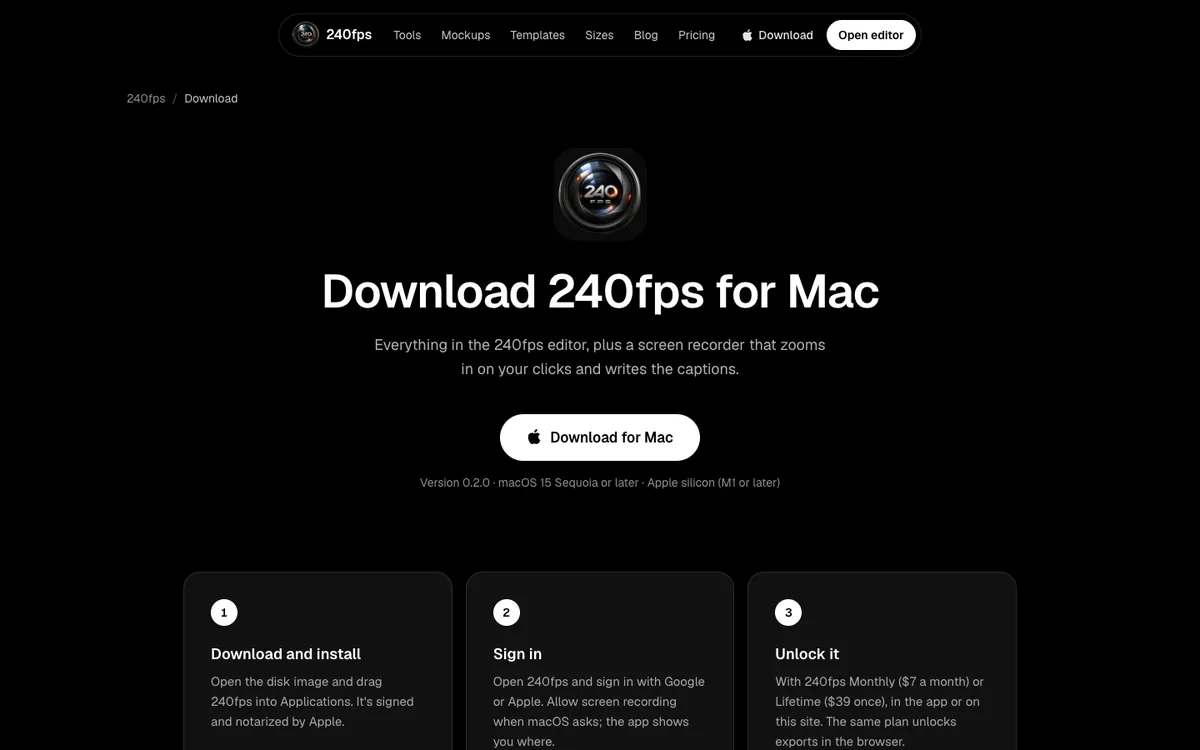
Designing in 240fps is free in your browser. The Mac recorder and every export come with 240fps Monthly at $7 a month or Lifetime at $39 once. The app needs macOS 15 or later on an Apple silicon Mac, and it's signed and notarized by Apple. Download 240fps for Mac.
FAQs
How do I record a product demo on my Mac with zoom?
Use a recorder that logs your clicks, such as 240fps for Mac. Press ⌘⇧R, choose a display, window or area, and record. The editor places a zoom at each click, which you can retime or delete.
How long should a product demo video be?
About a minute for a marketing demo. Wistia's July 2025 data found videos under a minute average a 52% engagement rate.
Where do I allow screen recording on a Mac?
In System Settings, Privacy & Security, Screen & System Audio Recording. macOS also asks the first time an app records.
Can I add captions to a Mac screen recording?
Yes. 240fps transcribes captions on your Mac on macOS 26, and exports them burned in or as SRT and VTT files.
What resolution should I export a demo video at?
1080p is enough for most websites and social posts; export 4K at 60 fps when the demo will be shown full screen or zoomed in a lot.
Last updated: 2 October 2026.